
Thank you to Moen for sponsoring this post. As always, all opinions are my own. Contains affiliate links.
It’s no secret that I’ve hated our bathroom since day 1. Dingy beige tile that’s falling apart and missing in places, a broken medicine cabinet, and a generic laminate vanity… It doesn’t exactly have the farmhouse charm that this old house deserves.
I’d love to do a full gut remodel in the future featuring a claw foot tub, a beautiful tile floor, and beadboard that matches the original stuff in our kitchen, but that’s likely years away. We finally decided we couldn’t live with this ugly little room anymore and set aside a weekend for a quick makeover to transform it into a light, bright farmhouse style bathroom.
Here’s what we started with:
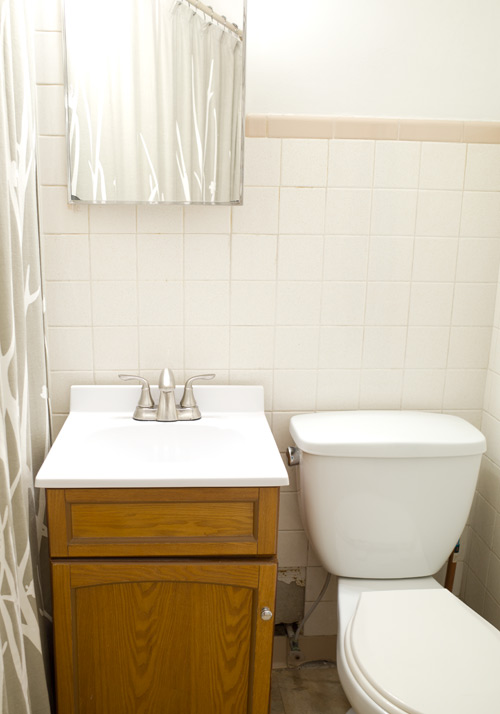
Our #1 priority is getting rid of the dingy square tiles on the walls. I believe it dates to the 60s or 70s, and I feel a tad guilty getting rid of something that’s been part of our house for that long, but man… it’s bad. Tiles are missing or broken in places, and previous owners already removed them from the other side of the room. (Now if they were 1950s pink tiles, that would be another story entirely. You better believe I’d be keeping those!).
The laminate vanity was in good shape, but the printed-on wood grain looked pretty bad in person. Nothing a bit of paint can’t fix! We had also been having issues with our old faucet for a while, so I jumped at the chance to try out Moen’s new Hamden faucet. Finally, we wanted to replace the medicine cabinet and add some vintage style decor to the space.
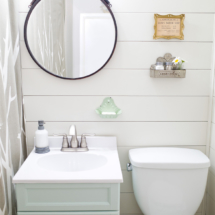
Here’s what that dingy old bathroom looks like after just two days!
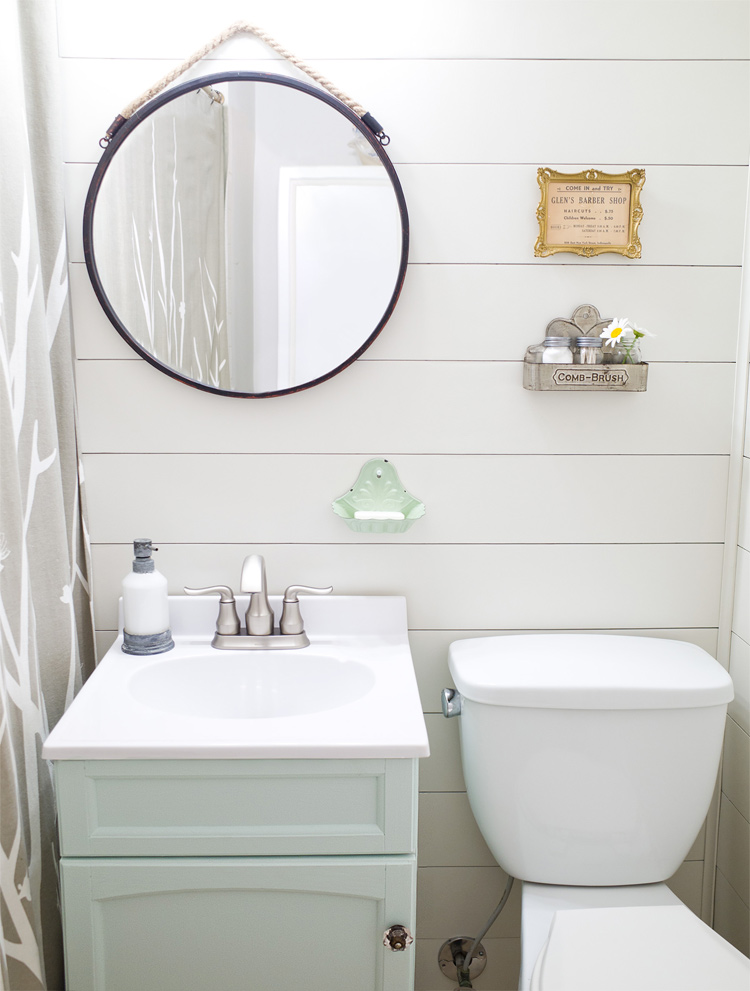
Source List:
Faucet: Hamden Spot Resist Brushed Nickel Two-Handle High Arc Bathroom Faucet
Vanity color: Benjamin Moore Opal Essence | Wall color: Sherwin Williams Pearly White
Decor: Rope Wall Mirror | Enamel Soap Dish | Vintage Comb Basket (available on Etsy & eBay)
Vintage Gold Frame (local find) | Soap Dispenser (from Target, no longer available)
How to Complete a Farmhouse Style
Bathroom Makeover in One Weekend
Luckily, there isn’t much we needed to do with the tub, so this farmhouse style bathroom makeover mainly consisted of just a few parts: giving the old vanity a makeover, replacing the tile, upgrading the hardware, and adding vintage style decor.
Step 1: Revive an old laminate vanity
We began by removing the vanity so it could be painted. Painting laminate sounds tricky, but really all you need is a good primer. I cleaned the vanity with TSP substitute and then applied two coats of Zinsser primer. I love this primer because you don’t need to sand first, and it covers nearly any kind of surface (including slick laminate!).
Here’s a quick progress shot after I applied the first coat of primer (and before we installed our pretty new faucet):
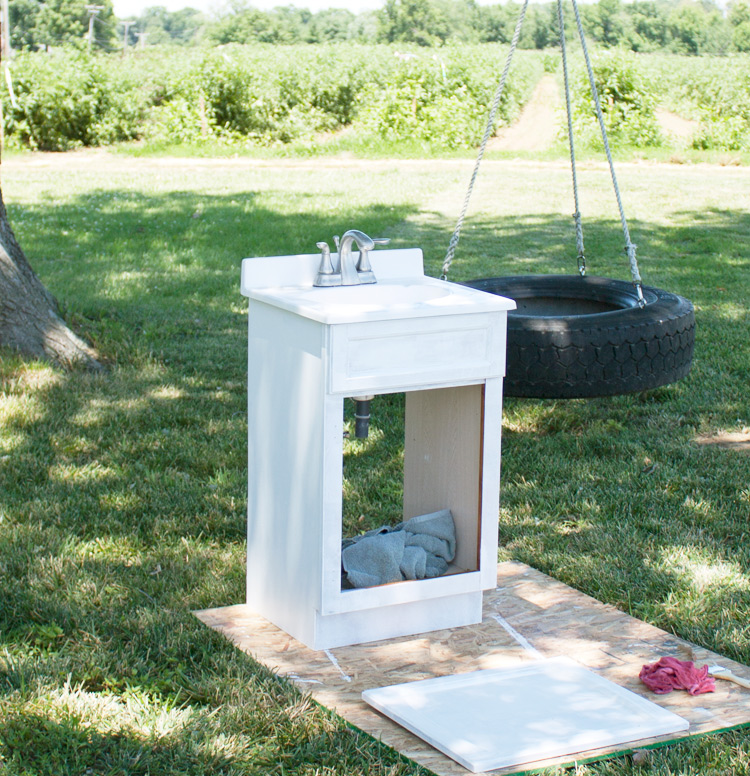
After two coats of Zinsser primer, I applied two coats of Benjamin Moore’s Opal Essence. A $6 sample can was more than enough for this project. I’m absolutely smitten with this adorable shade of mint! It’s a bit more saturated in real life than it came out in the photos, and I love it so much that I’m planning to use it in a few other places in our home.
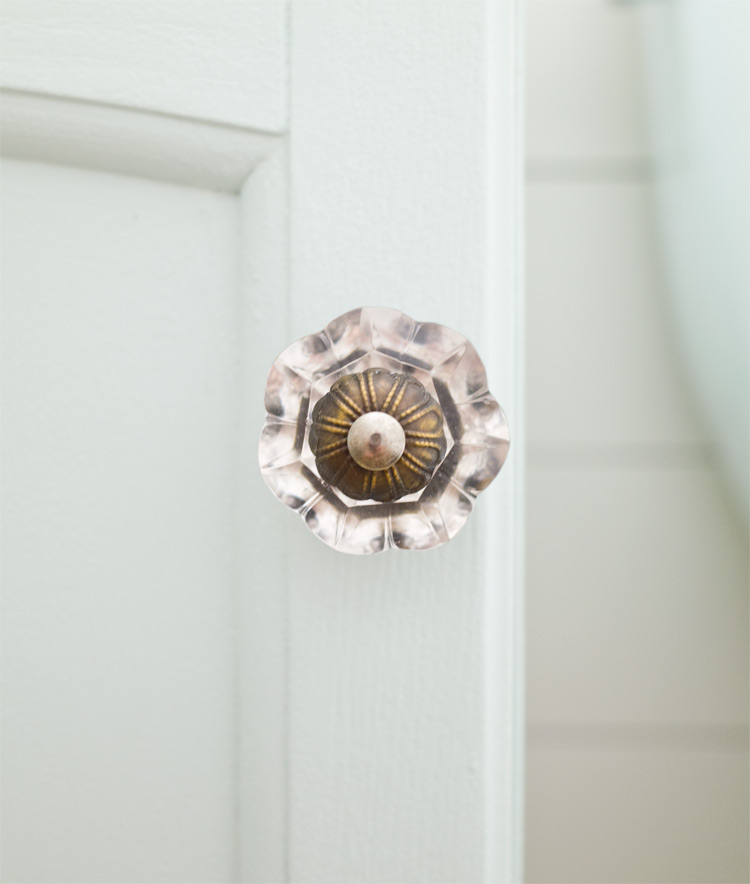
We also replaced the metal knob with a leftover glass knob we had on hand from another project.
Step 2: Refresh the walls with DIY shiplap
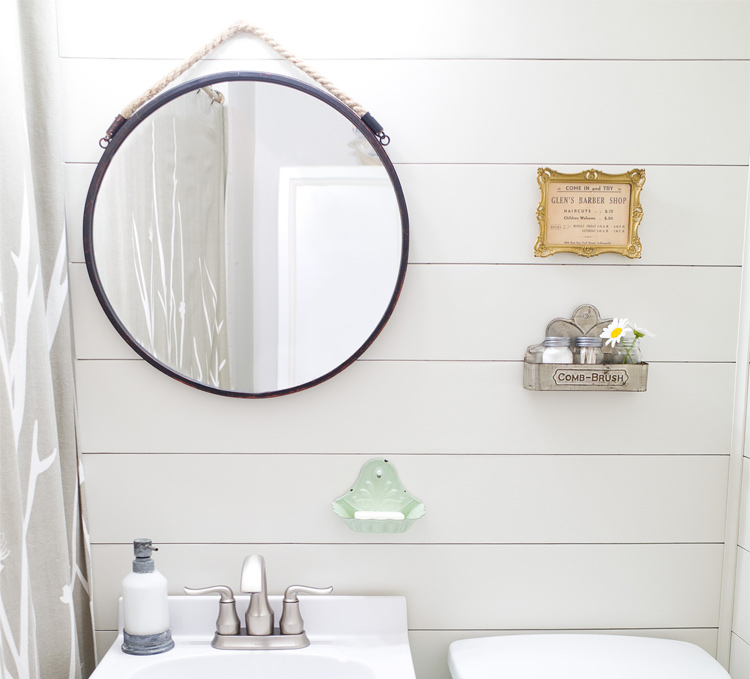
There are already dozens of helpful and thorough shiplap tutorials out there, but here’s the gist of this super easy DIY:
- Purchase 4×8 sheets of 1/4 inch plywood and rip them down into 6 inch wide strips. Tip: Save time on sanding by making sure the face of the plywood is already pretty smooth. We messed up here and had to sand the boards to get rid of all the rough spots.
- Prime and paint your boards. In a moist environment like a bathroom, it’s a good idea to prime both sides of your boards. Some people paint their boards after installation, but we painted ours prior to attaching them to the wall. We ended up applying two coats of primer and two coats of Sherwin Williams Pearly White.
- Apply your boards to the wall. Start at the top and work your way down. Because our walls are uneven, my husband measured and cut each individual board before installing them to the wall. We used nickels between the boards to ensure even spacing. Using a nail gun to attach the boards to the studs is the recommended method, but we simply used a few tubes of heavy duty liquid nails. My handy husband was pretty confident in this method, so time will tell if we experience any issues.
- Finish off with trim pieces. We used a coved corner piece to hide the gaps where the walls met and a vinyl trim piece where the shiplap meets the shower. You can’t see this piece in the photos, but it will help protect the ends of the boards from any overspray from the shower.
The other side of the room is a wall to wall storage cabinet, so we were able to shiplap this room with just two 4×8 sheets of plywood. The total cost for this DIY shiplap project (including primer, paint, liquid nails, and trim pieces) was about $105.
Step 3: Add beautiful & functional hardware
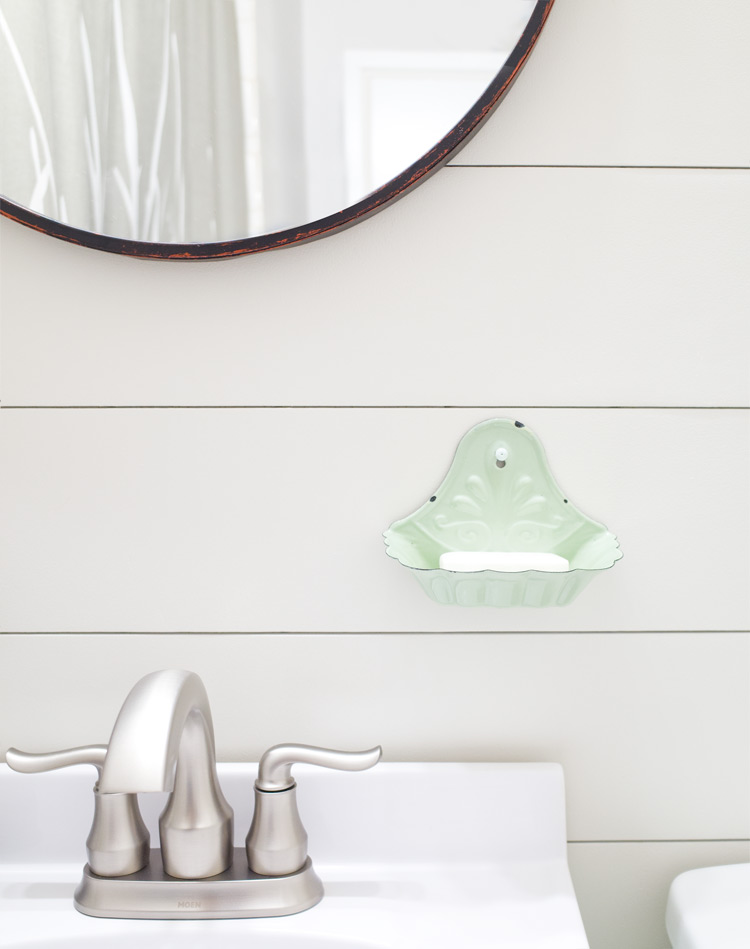 This beautiful faucet is Moen’s new Hamden Spot Resist Brushed Nickel Two-Handle High Arc Bathroom Faucet. We had been having problems with our old faucet, so I was really excited when Moen asked me to try out this new model. I honestly just thought it would be a pretty but average faucet, but I’ve actually been super impressed with this little beauty!
My absolute favorite thing about this faucet? The spot resist finish! Our old faucet was spotty again just hours after cleaning it, but this finish stays blemish free. It’s like freaking magic.
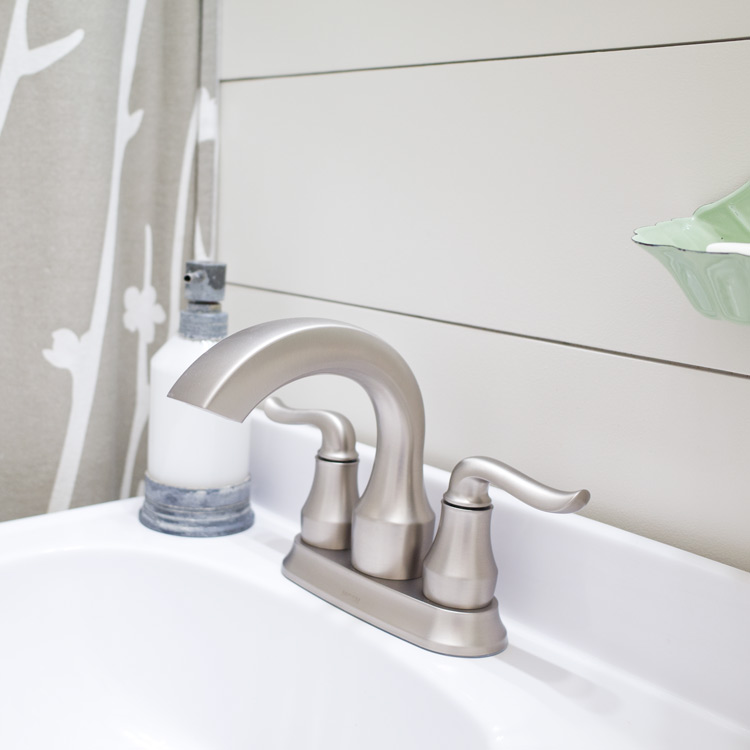
Another reason it’s a million times easier to keep clean than our old faucet? No lift rod in the back! That rod made it so hard to clean behind our old faucet, and how often do you actually use it anyway? Instead of pulling up on a lift rod to engage the stopper, all you have to do is push down on the stopper itself. Whoever invented that feature is an absolute genius. I love our new faucet and can’t recommend it enough.
Step 4: Add vintage style decor
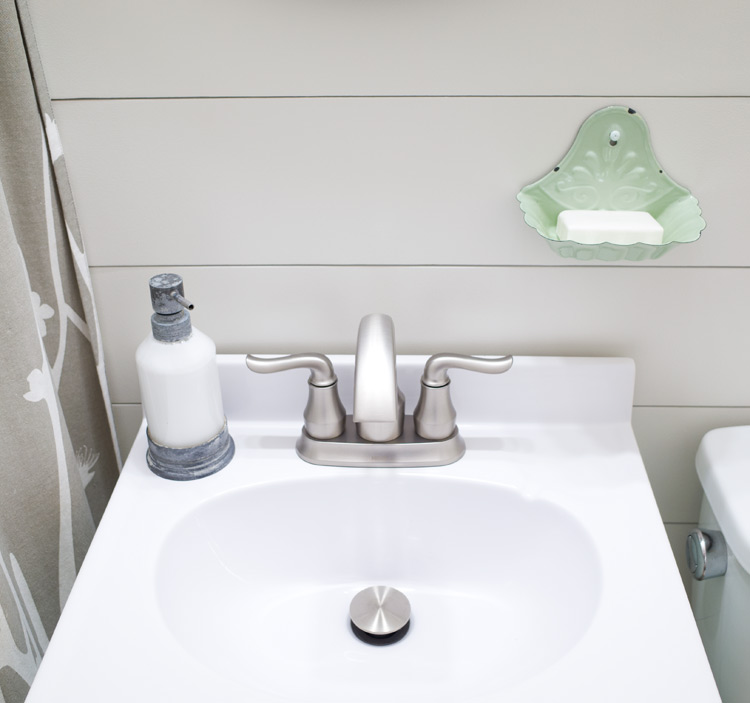
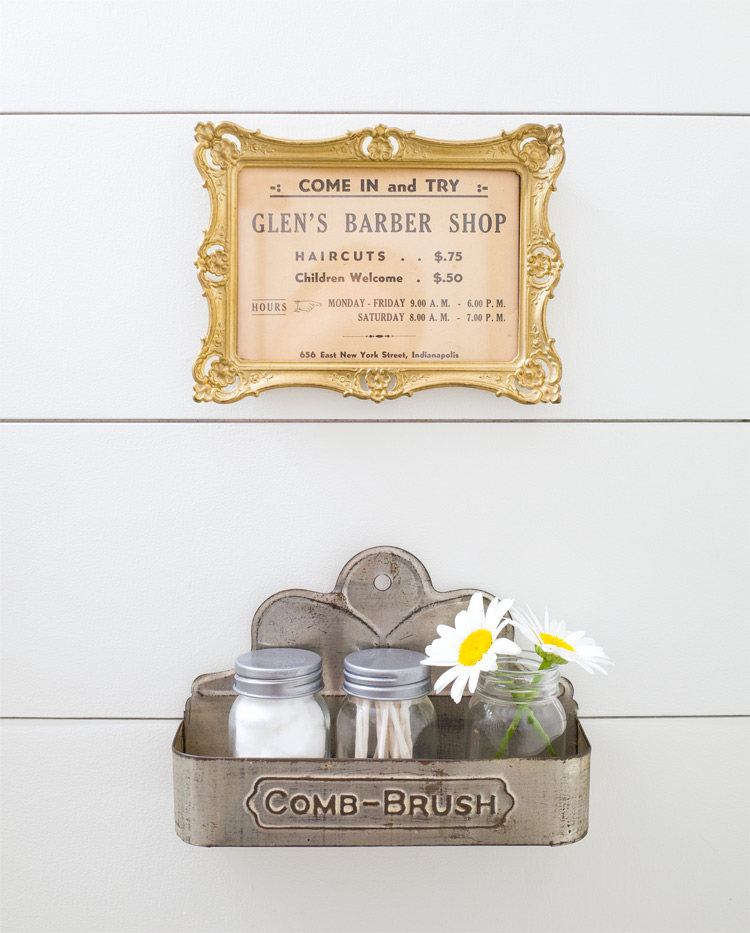
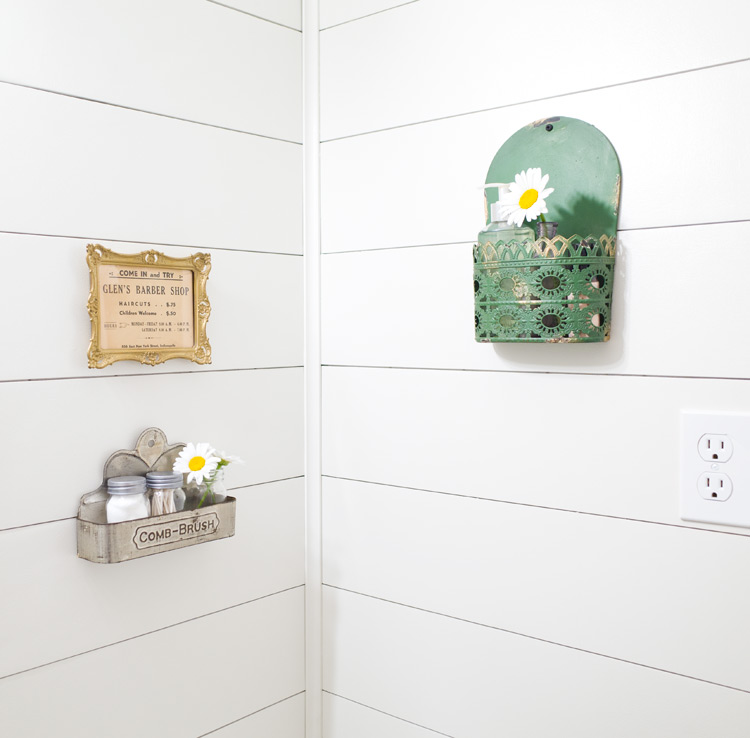
Nothing adds character and charm to a room like vintage style decor. I love unique items that tell a story or could have even been in our home 100 years ago. I found this vintage barber shop ad on eBay and paired it with a vintage frame from a local antique shop. The antique comb basket was an Etsy find, but I saw quite a few on eBay as well. It holds small jars we use to store small items like cotton balls and cotton swabs.
The enamel soap dish and green wall pocket both came from Craft House Designs. You can’t beat beautiful decor that also serves a functional purpose! Even if you’re not a big user of bar soap, one of these soap dishes could hold some of your everyday makeup or a contact lens case. We’ll use the green wall pocket to hold everyday items like toothpaste, hair products, and makeup.
Finding a budget mirror was no easy task, but I finally stumbled on this beautiful rope mirror from Kirkland’s for a steal! It adds the perfect amount of modern to the space. We ended up shortening the rope and hanging it from picture wire for extra support. We anchored 3/4 inch plywood into the wall cavity left behind by the medicine cabinet, so this baby is extra secure!
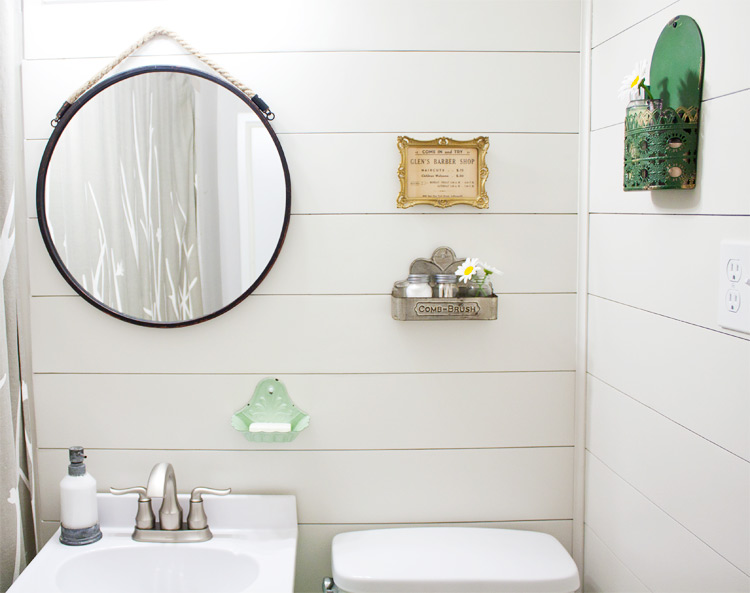
Overall, I’m thrilled with how easy this room was to do, and I’m so happy I don’t have to look at dingy, falling apart tile anymore! *happy dance*
Feel free to pin!


It’s adorable! I love all of the accessories too. My favorite is the mint green soap dish. :)
Thanks, Stacy! I definitely think that might be my favorite as well! I had to have it even though I have never really used bar soap much haha. It was just too cute to pass up!
What a beautiful bathroom! Great job!
Thank you so much, Debbie!
This is the cutest bathroom ever! I especially love the mirror and minty soap holder…
Thank you Katrin! Me too, and I’m so glad I found that budget mirror and adorable soap dish. Much better than old tile and a broken medicine cabinet!
Love this! I’m with Katrin…shiplap, mirror and soap holder are definite favs.
Thank you, Janet! I’m so thankful for shiplap because it was SO easy to cover up that imperfect wall. And it’s pretty dang cute too :)
Did you take the tile off first or just put shiplap over it?
Looks so pretty!!
I would love for you to share this with my Facebook Group for recipes, crafts, tips, and tricks: https://www.facebook.com/groups/pluckyrecipescraftstips/
Thanks for joining Cooking and Crafting with J & J!
Thank you, Jess! I’ll check that group out!
So cute, love the transformation. That mirror makes the space for farmhouse. LOVE LOVE
Thank you, Lindsay! That mirror was my luckiest find!
The power of paint and some DIY never ceases to amaze me! The shiplap is beautiful and love the color of the vanity! (Would love to feature this at our link party if you’d like to share it at our party on my blog please). Have a great week!
Thank you, Kendra!!
This is beautiful! Such a great looking project for only a weekend’s work :)
Best,
Kelly
Thanks, Kelly! It was such a fun & quick project! I guess I have to give some credit to my husband because he helped a ton! :)
I love the transformation! You did such a beautiful job with this :-)
Thank you, Bobbie!
This makeover looks wonderful! I love the shiplap! :) Thank you for sharing!
Thanks, Rebecca! It’s my first time adding shiplap to our home & I love it!
I love your bathroom makeover! I really appreciated the info on the planked walls. I don’t own a nail gun so using liquid nails sounds really do-able for me.
So far, so good with the liquid nails. My husband was pretty confident about it, so we decided to be guinea pigs in the name of DIY! I don’t forsee any problems with it though :)
Love the after look. A great look for so little $.
Thanks, Carol!
This is gorgeous and I can’t believe you completed it in a weekend!! I love all the vintage touches you added.
Thanks, Melissa! It was a quick project, but I have my handy husband to thank for a lot of it!
The new shiplap wall and painted vanity make this bathroom look completely different. I love that brushed nickel faucet! #merrymonday
Thanks, Shirley! Shiplap was a really a lifesaver here & it made all the difference!
I am so amazed with how this spaced was transformed! We have a really small powder room in our basement that I’m not really thrilled with and you have totally given me inspiration to update it :)
Thanks, Angela! And you totally should! This was such a quick and fun project, but it really lifts my spirits to see a beautiful bathroom in place of the dingy old room it used to be!
[…] Bathroom Makeover – Hello Farmhouse […]
[…] Bathroom Makeover – Hello Farmhouse […]
Turned out beautifully!!!
Thanks so much for sharing at AMAZE ME MONDAY!
Blessings,
Cindy
Thank you, Cindy!
Such a pretty bathroom makeover! I love the shiplap! Featuring you tonight at our party :)
Thank you, Kendra!
[…] I can’t believe Hello Farmhouse did these entire farmhouse style bathroom makeover in one week… […]
[…] Farmhouse Style Bathroom Makeover – Hello Farmhouse […]
This turned out so wonderful!! COngrats on being the most loved post this week at Totally Terrific Tuesdays! Glad to have you around sharing your great projects with everyone!
Jess
Thank you so much, Jess!
Meg, this project is great! You completely transformed the look of this space, and it’s wonderful to see that you did it on a budget with just a couple of days’ work. Congrats on getting the faucet from Moen; that must have been fun!
Thanks for joining the Grace at Home party at Imparting Grace. I’m featuring you this week!
Thanks, Richella! I had so much fun working on this project, and I’m so glad I don’t have to walk into an ugly bathroom anymore. Thank you so much for the feature!!
So charming!! Love how this turned out!
Thank you so much, Courtney!
I love everything about this makeover! I have a bathroom similar to this and have been wanting you to do something with it. Could you give me a little more information on the curtains? Thanks!
[…] Farmhouse Style Bathroom Makeover | Hello Farmhouse […]
Meg, what an amazing weekend project! I would like to include in on my blog’s next “Second Tuesday Art Walk.” I always ask permission to use photos first, so I’m hoping you will give me permission to use on the of photos from this post. My readers would just love to see this, especially since next issue’s theme will be “attainable beauty.” Let me know if I can use a photo.
I love this!! I have similar tile in my bathroom. Did you tear out the tile or just put the shiplap right over the tile?
[…] a room in your house that you’ve been meaning to remodel but the time has never been right? Meg got tired of waiting for a full remodel of her small bathroom so she decided to do a weekend […]
You did a wonderful job. Your bathroom looks beautiful. I like this farmhouse style bathroom makeover. Thanks for sharing this post.
[…] It’s amazing how you can transform a small space with just a little time and effort. I love this bathroom makeover by Hello Farmhouse. […]
I have a question. Did you fasten the shiplap (plywood pieces right over the existing tile board? Or did you remove the tile board? If so, what was behind to nail into?
Hi Carol,
Since we are planning a full gut job in a (hopefully!) a few years, we just applied the plywood pieces directly to the tile using a heavy-duty liquid nails type glue. So far none of the pieces have even thought about coming loose!
What a great makeover, it looks so different. I love it all but especially the little farmhouse galvenized comb holder. Beautifully done.
Two ‘words’, “Ewwwwwww! Ahhhhhhhhh!”
Hahaha…just kidding. I had a bathroom that could have been featured in a horror movie and we did the same but not with such a gorgeous outcome!
Just beautiful, MEg.
Love you blog and your personality. Stellar.
Thanks, Jamie!! It seriously feels like such a breath of fresh air to get rid of everything that made that old bathroom so gross. And I am dying to see what your horror movie bathroom used to look like!
You did an amazing job in just one weekend! Wow! The shiplap really sets off the bathroom nicely. But, I have to say, I am most in love with all those vintage details on the wall!
What a transformation! It turned out darling, but then I love what shiplap can do for a room! Thanks for sharing with SYC.
hugs,
Jann
Oh my gosh I absolutely love it! And that mint green is so refreshing! I love shiplap but the hubby doesn’t:( Yours looks great! Thanks for sharing at Vintage Charm! xo Kathleen|Our Hopeful Home
Stunning Meg. What a beautiful transformation. Love it!!
You really did a wonderful job. It looks amazing. I will be featuring this at my Winter Blues Wednesday party that opens each Tuesday evening at 8pm EST. Please stop by and pick up an I’ve Been Featured button. Thanks. http://diybydesign.blogspot.com
[…] Armed with inspiration from top search results, the ABC Home & Renovations team got to work, unleashing their makeover magic in ways I could scarcely have imagined. […]